Start with the fabric, not the needle
A small repair can make a well-loved garment feel ready to wear again. Before sewing, turn the piece inside out and look closely at the problem in good light. Is the thread broken while the fabric remains sound, or is the cloth itself torn or thinning? A loose button and a cleanly opened seam are usually simpler to fix than damaged fabric. Check the care label too, especially if the garment may need pressing after the repair.
A basic kit needs only hand-sewing needles, matching thread, small scissors, pins and a tape measure. A thimble can help with firm fabric. Choose a needle fine enough to pass through the cloth without leaving visible holes, and use thread close to the garment’s color. Cut a manageable length of thread rather than a very long one, which is more likely to tangle. Test stitches in an inconspicuous spot if the fabric is delicate.
Give the garment a gentle shake or smooth it flat before beginning. It is easier to mend cloth that sits in its natural position than to sew while pulling an opening shut. For silk, sheer material, leather, heavily beaded pieces or fabric that is fraying badly, a tailor or specialist may be the safer choice.
Reattach a button so it sits comfortably
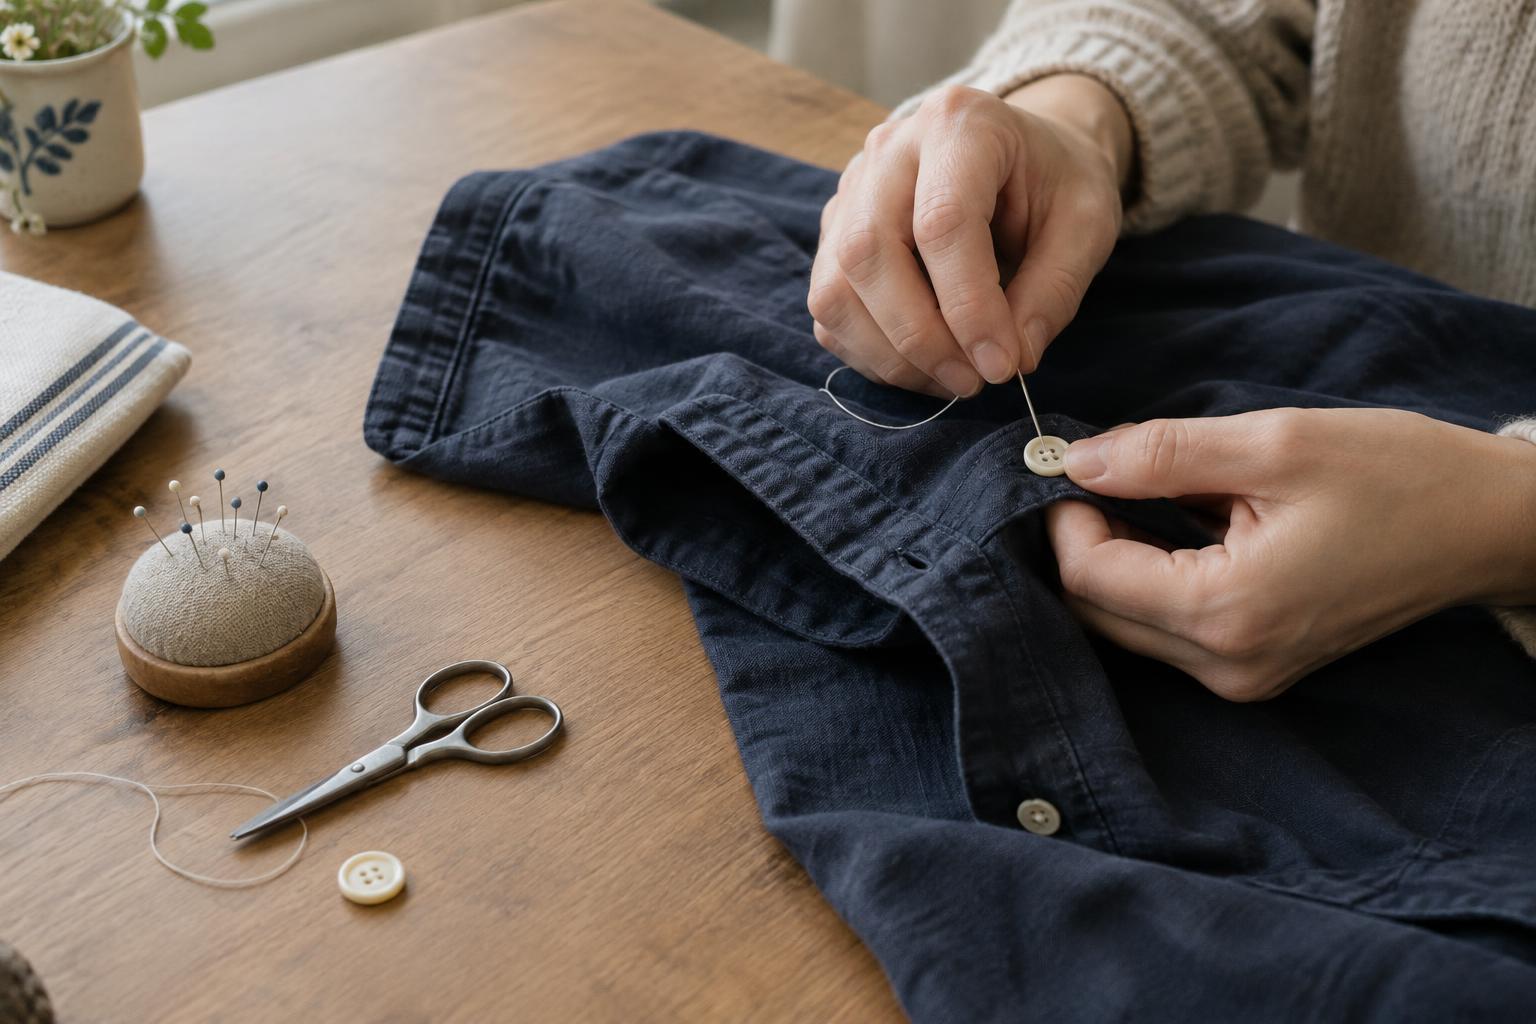
First, look for the original button or a spare sewn inside the garment. If neither is available, choose a replacement that fits the buttonhole without forcing it. Check nearby buttons for their placement and sewing pattern. Mark the attachment point lightly on the wrong side of the fabric, then bring a doubled thread up through the cloth. A small knot on the inside will anchor it.
For a button with holes, pass the needle through the button and fabric several times, following the pattern used on the other buttons. Keep a little space between the button and garment if the fabric underneath is thick; a tightly sewn button can be difficult to fasten. You can hold a toothpick across the top of the button while stitching, then remove it to create that space. Wrap the thread around the stitches beneath the button a few times to form a short stem, pass the needle to the inside and secure it with a few small stitches.
A button with a built-in loop on its back, called a shank button, does not need that extra thread stem. Sew through the loop and fabric until it feels secure, taking care not to catch an unwanted layer, such as the front of a lined jacket.
Close a seam without changing the fit
For a short opening where the original seam has come undone but the fabric edges are intact, turn the garment inside out. Align the edges along the old stitch line and pin them in place without stretching the cloth. Begin a little before the opening and finish a little beyond it so the new stitches overlap the sound seam. This helps prevent the gap from reopening at either end.
A backstitch makes a sturdy hand-sewn seam: take a small stitch forward, bring the needle up slightly ahead, then insert it back near the end of the previous stitch. Repeat with stitches of roughly even length. Keep the seam allowance similar to the original so the garment’s shape does not shift. Secure the thread on the inside and trim it neatly.
Turn the piece right side out and check how the repair lies when worn. If the seam puckers, the thread may be too tight or the edges may have slipped out of alignment. It is worth removing those stitches and trying again. If the fabric is torn beyond the seam line, simply stitching the edges together may pull the garment out of shape; that repair may need reinforcement or a patch.
Secure a fallen hem with small, discreet stitches
A loose hem is easiest to fix when part of the original fold remains in place. Turn the garment inside out, smooth it flat and use the intact section as a guide to the correct depth. Pin the loose fold without pulling the fabric upward. On trousers or a skirt, check that both sides hang evenly before committing to stitches.
For a discreet hand-sewn finish, anchor the thread within the folded hem. Take a small stitch through the hem allowance, then catch just one or two threads of the outer fabric before returning to the fold. Continue with relaxed, evenly spaced stitches. Catching too much outer fabric or pulling the thread tight can create visible dots or puckers on the right side. Knot the thread within the fold when finished.
Press only if the care label and fabric allow it, using an appropriate iron setting and a pressing cloth when needed. Do not use heat to force a stretched or uneven hem into place. If a hem has lost its original fold entirely, measure and pin it while the garment hangs naturally before sewing.
Make the repair part of getting dressed
After any repair, fasten the button, move in the garment and look at the mend from the outside. A button should pass through its hole easily, a seam should follow the original line, and a hem should hang without a visible tug. These quick checks matter more than perfectly uniform stitches hidden inside a garment.
Keeping a spare button and a small amount of matching thread in a labeled envelope can make the next repair easier. For pieces you wear often, check buttons and hems when putting clothes away rather than waiting for a thread to fail completely. A few careful minutes can help a useful wardrobe piece stay in rotation without turning a minor fix into a larger project.